I love the tech savvy world in which we live for many reasons but one of my favourite things would have to be that ability to buy nearly anything with the click of a button. I have bought everything from vintage cigar boxes to gazebo umbrellas using online shopping and 97% of the time I am happy with my purchase - especially the number at the end of the dollar sign. Now I consider myself to be pretty good at doing my research before purchasing from sites especially international ones. Some of the key things that I look for before making a purchase are is the store legitimate, are the products in good/new condition and the big one are the products genuine/authentic brands? Another big question (with a couple of spin offs) is does this item have a warranty/guarantee and if so how do I redeem it if I have a problem, where do I send it and at whose expense?
Many websites say they're Australian/Australian owned but if you go through and have a look at the fine print more often then not the company is based overseas usually somewhere like Hong Kong or China where knock offs are abundant. Just because the company say they are selling "genuine" products does not mean they are genuine distributors for that company. I often hear "It all comes from the same factory just a different label." now it may come from the same factory but that doesn't mean the parts are the same.
We have a family friend who does the electrical side of things for a large building company and they sent him to Hong Kong to inspect and choose what parts to order. He was taken to a large factory and presented with containers in front of him filled with parts, for each item they had three-four "identical" types each varying in price - same factory, same look, DIFFERENT quality. And sometimes they don't even bother with the parts to make it look authentic - some just have the audacity to sell you junk and there isn't anything you can do about it.
Now why as an avid online shopper am I personally against buying my camera gear off the Internet/Internet based companies? Simple answered I've been burned - by more then one site.
There are a couple of experiences I've had with filers for lenses all looking like they were the real deal until you use them or have a very close look and realise you may as well use them for drink coasters because the quality is atrocious especially when it comes to polarizers. The worst experience I have had is with a flash unit that I bought from overseas it would last about five shots and then die but that differences weren't just mechanical, when I had a chance to look at a genuine model next to my import the difference in quality was notable even from the outside including screen colouring. When I emailed the company in regards to mechanical warranty I was informed they would have to check it out but the only way for that to happen was for me to post it back to them registered post at my own expense (over $100) - it simply wasn't worth it.
I want to clarify there is a difference between shopping from an online store like eglobal digital and shopping from a tangible store that has an online option such as camera pro or teds.
I can't say I wasn't warned about shopping online for camera gear but as a 23yr old with all my infinite wisdom I clearly knew better - WRONG! I had even heard other stories but I figured I had done my research and I'm sure xyz from Hong Kong only has my best interests at heart and was really just trying to help save my bank account. When it comes to online camera gear there is a direct correlation between price and quality.
So at the end of the day I'll continue to buy my nik naks and iPhone covers from online but if I want quality and reliability I'll head on down to the camera store and save myself the money in the long run.
Sunday, June 3, 2012
Thursday, January 12, 2012
Soda Bubbles

This is my how to on shooting soda bubbles. Once again with all photography there are many ways in which to capture an image and this is simply the way that worked for me.
Let's start with my equipment list:
- Nikon D90
- 105mm Nikkor lens
- Circular Polariser
- Tripod
- Strong string
- Cable shutter release
- Large Bowl
- Cold, generic soda water
- Table
- Strawberries
- Toothpick
Next up let's have a look at my reasons for using this equipment.
The Nikon D90 is a DSLR camera which gives me greater control of my settings and in this shoot I shot on manual which enabled me to decide shutter speed, aperture, ISO and exposure. I also used the cable release to help counter any hand shake and so I could reach the strawberry with my other hand.
The 105mm lens was my choice as it is a Macro lens which gives me the ability to get up close and gain the real detail in the strawberry and bubbles.
The circular polariser is used to remove the reflection from the water and allow me to just see the strawberry and bubbles without glare it also can help to make the colours richer.
The tripod and strong string go together in allowing me to have the camera parallel to the bowl. I use the string to counter balance the tripod by tieing it to my pool fence.
I used a large bowl on a table so I could put my hand in the bowl without it being seen to hold the strawberry in place with the toothpick.
I found hot soda to have less of a "bubble" effect compared to cold soda.
Let's see how to set up this equipment and the settings I used. I will give an explanation of my camera settings also.
I started by finding a well lit area. I chose to do this outdoors under the corner of our verandah so that I had natural light coming in but no light directly over the bowl to help reduce glare. I put the bowl on a small table so I could stand in a comfortable position. I set my tripod to the side and extended the head over the bowl. I filled the bowl with soda water before putting my camera on (if you fill it whilst you camer is over it cover you lens to protect it from the fizzing water). I stuck a toothpick in the strawberry and had it ready to go.
I then set my camera up by putting my 105mm lens on with it's polariser, inserted my cable release, turned VR off and put it on my tripod.
I then fired a couple of test shots off whilst on aperture priority to see the results, which I wasn't happy with. I then switched to manual mode and found that the settings that worked for me at this point were ISO 800, f/6.3, 1/100s with AF-A no exposure compensation and since I shoot in RAW and J-peg knowing I would use the RAW file I also had AWB.
So why THESE settings?
Firstly you need to know that the weather wasn't ideal for outdoor shooting with plenty of cloud around which brought a lot of shade but still had some nice natural light - so to compensate for the lack of direct light my ISO went to 800. I knew I wanted to get as many bubbles in focus as possible but I didn't want the table/floor coming through over the images and so I set my aperture at f/6.3. Now for my shutter speed I needed something that was quick enough to compensate for any hand movement whilst I was holding the strawberry but also let enough light in so my image wasn't too dark. I had the added benefit that once the bubbles settled they weren't moving too fast so I didn't need a higher shutter speed. I used AF-A on my camer over AF-C as I found that if the macro was constantly trying to focus it would often go out of focus and take a bit more to get it right.
Now you know my set up, my justification and my settings - how did I get this shot?
Using the strawberry with the toothpick in it, I held the other end of the toothpick and rotated it so it would be out of shot and the strawberry would be qall you saw. Looking through the view finder I positioned the strawberry where I needed it, gave it a shake to attract some bubbles and then grabbed my cable release and clicked away!
That is how I did the shot at the top of this blog and I hope this helps you to capture the image you're looking for.


Left to right - Complete set up. Lens with polariser and cable release. Strawberry with toothpick


Left to right - Counter weighted. Lens settings
HAPPY SHOOTING!
Monday, December 26, 2011
Droplets on Glass
This is my how to on how I did the shot below...

Firstly this is simply MY own version of how I pulled this shot off - I have seen other blogs with different methods in particular being able to get the water drops right. The other methods didn't work for me or I didn't have everything I needed to do it their way so I improvised.
When it came to the water drops I tried just water using an eye dropper and spray bottle - I tried waxing the glass and then wax in the water and I just couldn't get it right so I used OIL from an eye dropper and it was perfect for what I wanted!
Let's get to the start by giving you an equipment list of what I used -
1. Camera (DSLR)Nikon D90
2. Macro Lens Nikkor 105mm
3. Tripod
4. Glass sheet (I took one from a cabinet door)
5. Something to sit the glass on
6. Light Source
7. Back Drop
8. Eye Dropper
9. Oil
10. Shutter release cable
11. Something to photograph
There are photos at the bottom to show my exact set up and what I used
I began by setting the glass up and cleaning it.
I put my tripod in place (I have one that allows my camera to be directly over the glass) which I counter balanced using the pool table behind.
I put the backdrop underneath the glass and what I wanted to shoot on top of the back drop - I found the more colourful the better.
Set the light up so it wasn't glaring on the glass but lit up the subject.
I put my camera on the tripod with my cable relase in. The camera was directly above the glass looking down.
I then used the eye dropper to do lots of oil drops around the area that would be in shot. I did different sized drops in an erattic sort of pattern as I found straight lines boring.
I set my camera to manual focus and turned the VR off and then manually focussed the camera to bring just the drops into clear focus. I also made sure to have a decent distance between glass and camera for a nice DOF.
I then clicked away and checked my composition.
I tried different subjects but I was happy with the pool balls because you could see the numbers and real definition and with the bright colours they stood out.
My Meta Date for the shot above is:
NIKON D90
105mm
ISO 200
F/3
1/40s


ENJOY!
Hope you have fun with this technique as I did!
Tuesday, April 12, 2011
Queensland Spirit
I’ve always been proud to be a Queenslander and I have always loved my state. I must admit though over recent years in some ways I have become disheartened, in that I had begun to feel as though we were losing what it meant to be a Queenslander, to be a maroon, to have that spirit and soul of QLD.
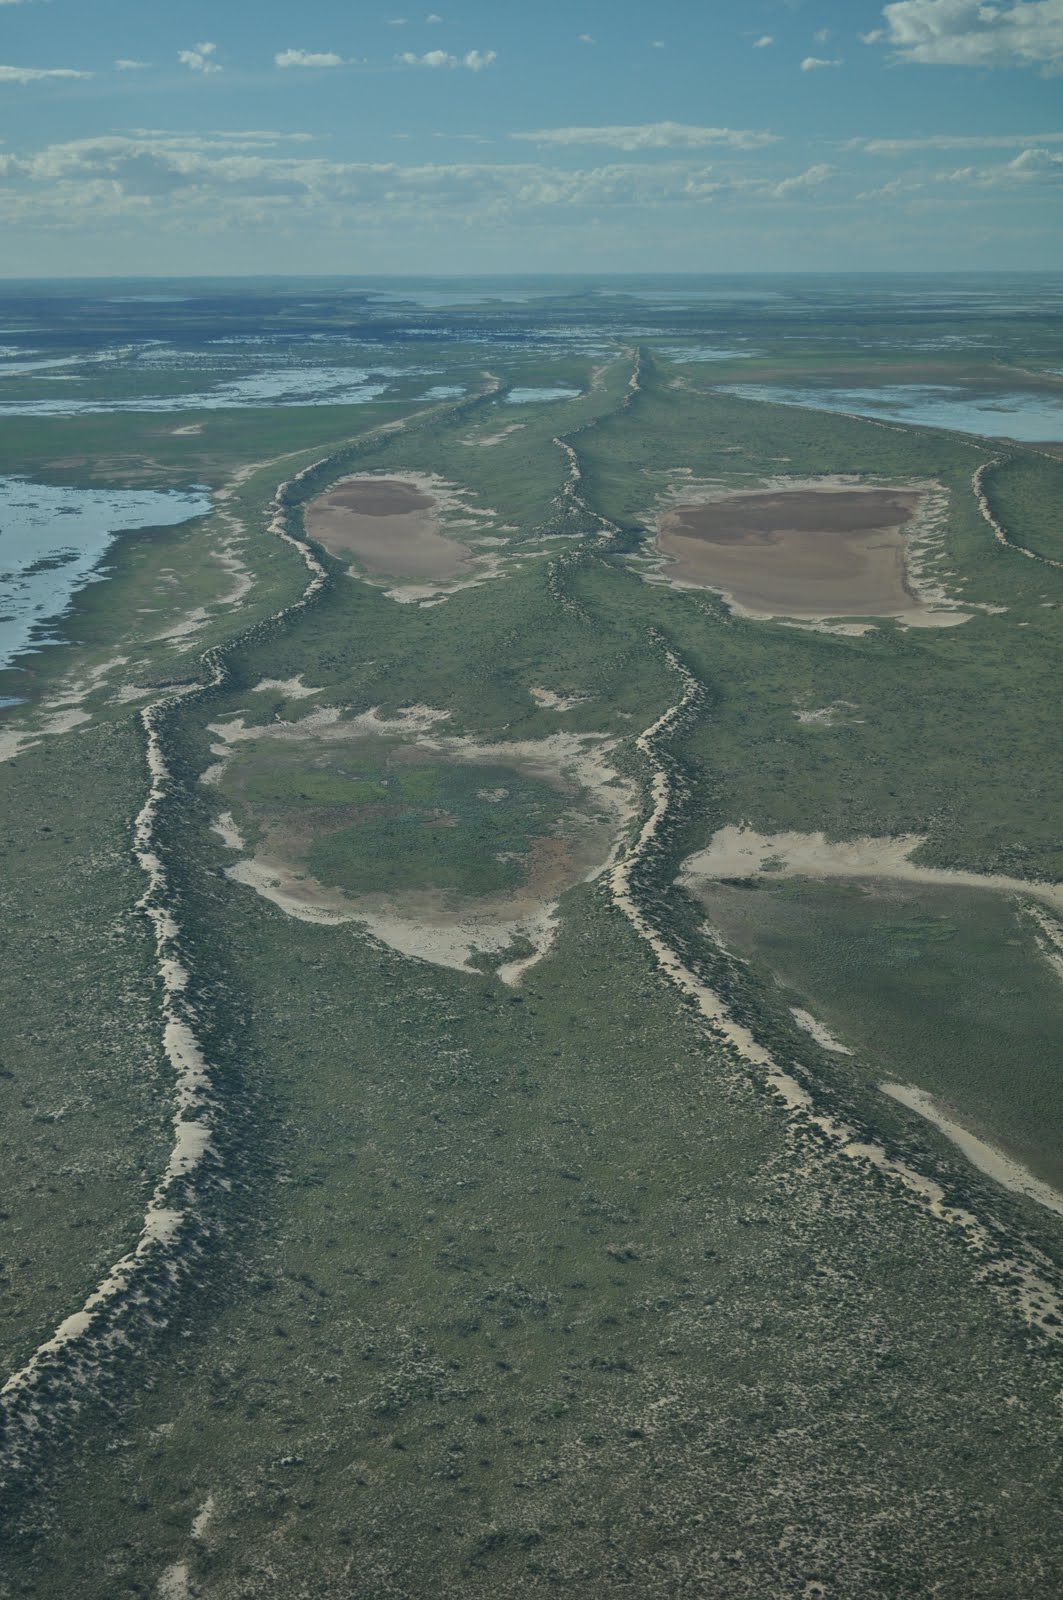
After visiting the Outback I have a renewed faith that the QLD spirit is alive and well, sometimes it bleeds but it endures and always overcomes. To go out to the wonderful places and visit not just the icons such as the Birdsville pub but to go into the communities of the Outback, meet the people that are truly the heart of our great state is an amazing experience and one that was most definitely not lost on me.
 |
| Jimmie |
When I first decided to go out on the Outback tour with Bluedog Photography my thoughts turned to sand dunes, clay pans, the Birdsville Pub and Lake Eyre. As we began to move through the towns and the communities the tour turned into so much more. I was astounded by the genuine kindness and hospitality of the people. Every car waved as you passed, people greeted you as you walked down the street (and not that awkward if I keep my head down and look like I’m on the phone no one will feel obliged – oops I made eye contact better say hi-greeting) a genuine “hi, how are ya?” greeting. You could have a conversation with anyone and they were happy to answer your questions and tell you about the place.
I was fortunate enough to be on a tour that was led by someone who knew the areas and the people in the towns. This gave me an opportunity to meet some true characters of not just the Outback but of QLD. To push me to step out of my comfort zone and meet people and truly get to know the place. I learned a lot about being a photographer but also about being a visitor in someone elses town, community – their home.
The countryside was stunning, I saw the clay pans covered in grass, Lake Eyre at close to full, Big Red surrounded by water, Hawks everywhere you went, Wedge Tail Eagles in flight, Brolgas, Kangaroos, Emus and there were a couple of flies to keep us company too (it’s one way to nail the Aussie Salute)!
 |
| A well vegetated Sand Dune |
 |
| One of many hawks |
Have you ever seen a phone box in the middle of nowhere, the Hilton hotel without an elevator, the native shoe tree or living room ready and waiting for you by the side of the road? It’s all there just waiting for you to stop on by- it’s the QLD outback.
There are some things you should remember when travelling anywhere but especially in our wonderful backyard and that is our locals need our support. They don’t need a hand out, nor do they ask for one they need us to support their economy, their jobs and their community. It’s as simple as stopping in and buying a cold drink, a beer cooler from the local pub or an ice cream to cool you down. The little things go a long way. When you see a place that offers free morning tea or a loo for you to use just remember for them to get supplies out there makes a dent in their pocket and you’re loose change for that drink helps them keep doing what they do best – entertaining us because we are that fortunate!
 |
| The desert near Lake Eyre |
I always thought travelling to the Outback would be too difficult a task, that it would be too hard, that I needed a 4wd and an abundance of knowledge about cars, camping and driving. All I really needed to get started was a brochure on tours of the Aussie Outback. Jumping on a tour is easy, worry free, organised, fun and you’ll be amazed by how cost effective it really is. All I had to worry about was getting my luggage underweight with all my camera gear and making sure I was on time for breakfast. The transport was sorted, hotels organized, food taken care of, the wildlife ready and the scenery well now that was just spectacular!
Do yourself and our state a favour get out and experience our backyard especially with how it is right now because it isn’t often you will see the desert filled with trees, water flowing through it and an absolute abundance of bird life.
Do something good for your soul take some time not just to see the outback but to experience it - to live it.
 |
| Carcorry Ruins |
See it - Live it - Love it
Tuesday, January 4, 2011
Sunset Shooting
I went out to snap a couple of sunset pictures today because I love the warmth of a sunset and thought I would share my top 5 tips (well 10 but I've split them into two categories). I am not a professional these are the things I do and find useful - also there are no doubt many other tips and tricks to sunset photography so experiment!
1. Check the sunset time and also check your gear (including that its clean and the battery is charged)
2. Sunset shots are often taken by water etc. so have insect repellent on hand
3. Find a good spot and then walk around, change levels to find the BEST vantage point
4. Arrive early to set up
5. Use a tripod
1. Pick your lens prior to arrival if possible - this way you have less risk of dust/sand getting in
2. Have your focal point preset so that yourcamera doesn't try and refocus every time you take your shot because this can be problamatic if you hit directly on light (but remember to adjust it if you adjust your focal length)
3. Check your horizon line is straight because it can really upset your image if it's not and whilst you can straighten during processing you may lose parts of the image you wanted to keep
4. Have something to add depth/ interest to the shot - a tree or people etc.
5. Personally I shoot in Aperture Priority mode - it works for me but remember to keep an eye on your settings to ensure you aren't receiving a hi/low reading and to adjust your aperture accordingly if you do see these pop up


One extra little tip that I find useful after any shooting is to return your camera back to what you consider your "standard" settings eg. Flick back to Aperture priority, flick VR back on and also autocus on both the lens and camera. Put your ISO back to your normal too. This way it is ready for when you need to pull it out next.
Organisational Tips:
1. Check the sunset time and also check your gear (including that its clean and the battery is charged)
2. Sunset shots are often taken by water etc. so have insect repellent on hand
3. Find a good spot and then walk around, change levels to find the BEST vantage point
4. Arrive early to set up
5. Use a tripod
Camera Tips:
1. Pick your lens prior to arrival if possible - this way you have less risk of dust/sand getting in
2. Have your focal point preset so that yourcamera doesn't try and refocus every time you take your shot because this can be problamatic if you hit directly on light (but remember to adjust it if you adjust your focal length)
3. Check your horizon line is straight because it can really upset your image if it's not and whilst you can straighten during processing you may lose parts of the image you wanted to keep
4. Have something to add depth/ interest to the shot - a tree or people etc.
5. Personally I shoot in Aperture Priority mode - it works for me but remember to keep an eye on your settings to ensure you aren't receiving a hi/low reading and to adjust your aperture accordingly if you do see these pop up


One extra little tip that I find useful after any shooting is to return your camera back to what you consider your "standard" settings eg. Flick back to Aperture priority, flick VR back on and also autocus on both the lens and camera. Put your ISO back to your normal too. This way it is ready for when you need to pull it out next.
Thursday, December 30, 2010
The need for technology - is more expensive better?
After recently having an encounter with a very comptetitive and materialistic person it got me to have a look at how I decide on the possessions I need (more like want) in my life, things I am fortunate to have and blessed to have the opportunity to enjoy.
I sat through this painful conversation nodding my head whilst thinking - can they be seriously this obnoxious - do they not realise more expensive/bigger is not always better especially if it's not what you need.


I sat through this painful conversation nodding my head whilst thinking - can they be seriously this obnoxious - do they not realise more expensive/bigger is not always better especially if it's not what you need.
OH MY GOODNESS! Something I have come to notice is seeing people with $2000+ cameras shooting on auto - what is the point of that? I appreciate if you have decided you need a great camera to capture special moments but for goodness sake learn how to use it, otherwise grab a point and shoot it will do exactly what you need it to do and prob at half the price (don't get caught into keeping up with the Joneses cause they're probably the least popular people on the block lol)! Honestly I love using my iphone camera and playing with apps - it may not be 30billion megapixel with 2millions ISO ra ra ra but sometimes its all I have on me and it'll do - not like I am blowing this image up to bill board size or doing a wedding. Here is an iphone image:

I have this as my facebook profile image I think it looks really cool!
Now don't get me wrong just because you have chosen to upgrade and you have gone all out doesn't make you an obnoxious friend, but don't compare what you have to others because you, your friends and myself included have different needs. Upgrading to a DSLR camera with all the bells and whistles can be very useful especially if you know what you want to shoot or that you need high res etc for your job - then awesome lucky you! Here is something I couldn't have captured on my iphone but remember on top of the camera is an editing program (another one of those bells):

Both these pics are a couple of my current faves but I can also find plenty I like from my old point and shoot that lasted me 3years until I decided I wanted to take this photography hobby further!
I have recently upgraded my computer for my editing software and to allow my computer to run longer and faster but all my decisions to spend large sums of money are weighed up and are for my needs not for the desire to be better then this person or that person. If you are fortunate enough to be able to upgrade awesome - but that doesn't mean everyone needs what you've got so be considerate of your neighbours and possibly their situation!
I love new technology but for me to go out and buy it I really have to have a reason to buy it because spending thousands of dollars or even hundreds on something you'll only use once not worth it for example: Those ice skates (because you were so going to get into ice skating) or Those cigar boxes (because they look good and are a "collectible" ha!) we all buy things on impulse - I still do but I buy things for me not to impress others because other people do have more amazing things then I and that's awesome maybe one day I'll upgrade to that but I'm happy with what I have and grateful!
At the end of the day if you can use what you've got then good chance you'll be doing better then those who have "better" and can't use it to it's full capability!
BLOG POINT: Buy what works for you and don't worry about the Joneses!
Happy shooting!
Subscribe to:
Posts (Atom)